-
Shop
- Adidas
- Advanced Technologies
- AI Skills Mastery 2026 Collection
- Best-Sellers
- Calvin Klein
- Car Accessories
- Confidence
- Dating & Social Skills
- Digital Resources
- AI & Technology
- AI Skills
- Beauty
- Budgeting & Saving
- Car Buying & Ownership
- Cozy Feast Collection
- Electronics & Technology
- Entrepreneurship & Business Growth
- Financial Education
- Financial Independence
- Financial Mindset & Psychology
- Goal Setting
- Hobbies
- Home Styling & Organization
- Kitchen & Recipes
- Leadership
- Mindset
- Online Business
- Parenting & Child Development
- Personal Style & Fashion
- Pet Lifestyle & Wellness
- Positive Thinking
- Sleep Improvement
- Stress Management & Relaxation
- Travel Planning
- Yoga & Fitness
- Yoga & Mind-Body Practices
- Education & Learning
- Family & Parenting
- Fashion
- Alexander McQueen
- Bags
- Bags & Wallets
- Balenciaga
- Belts
- Blazers
- Bottega Veneta
- Brunello Cucinelli
- Burberry
- Chanel
- Chloé
- Dior
- Dolce & Gabbana
- Dresses
- Etro
- Fendi
- Gucci
- Hats & Hair Accessories
- Hoodies & Sweatshirts
- Jacquemus
- Jewelry
- Jil Sander
- Keychains
- Kiton
- Luggage
- Miu Miu
- Off-White
- Prada
- Rick Owens
- Saint Laurent
- Socks & Tights
- Sweaters & Cardigans
- The Row
- Tom Ford
- Tops & Shirts
- Valentino
- Valentino Garavani
- Versace
- Vivienne Westwood
- Watches
- Furniture
- Gadgets
- Health & Beauty
- Health & Wellness
- Home & Garden
- Kids & Babies
- Kitchen
- Lighting
- Patio, Lawn & Garden
- Personal Growth
- Pet Care
- Pet Supplies
- Pets
- Shoes
- Smart Home Living Guides
- Sport & Outdoors
- Stress Relief & Relaxation
- TikTok Growth & Monetization Mastery
- Travel
- Travel & Adventure
- Wealth
- Wellness
- YouTube Shorts Best-Sellers
- Popular
- Best deals
Portable LED Projector Home Theater Setup Tips for Big Screen
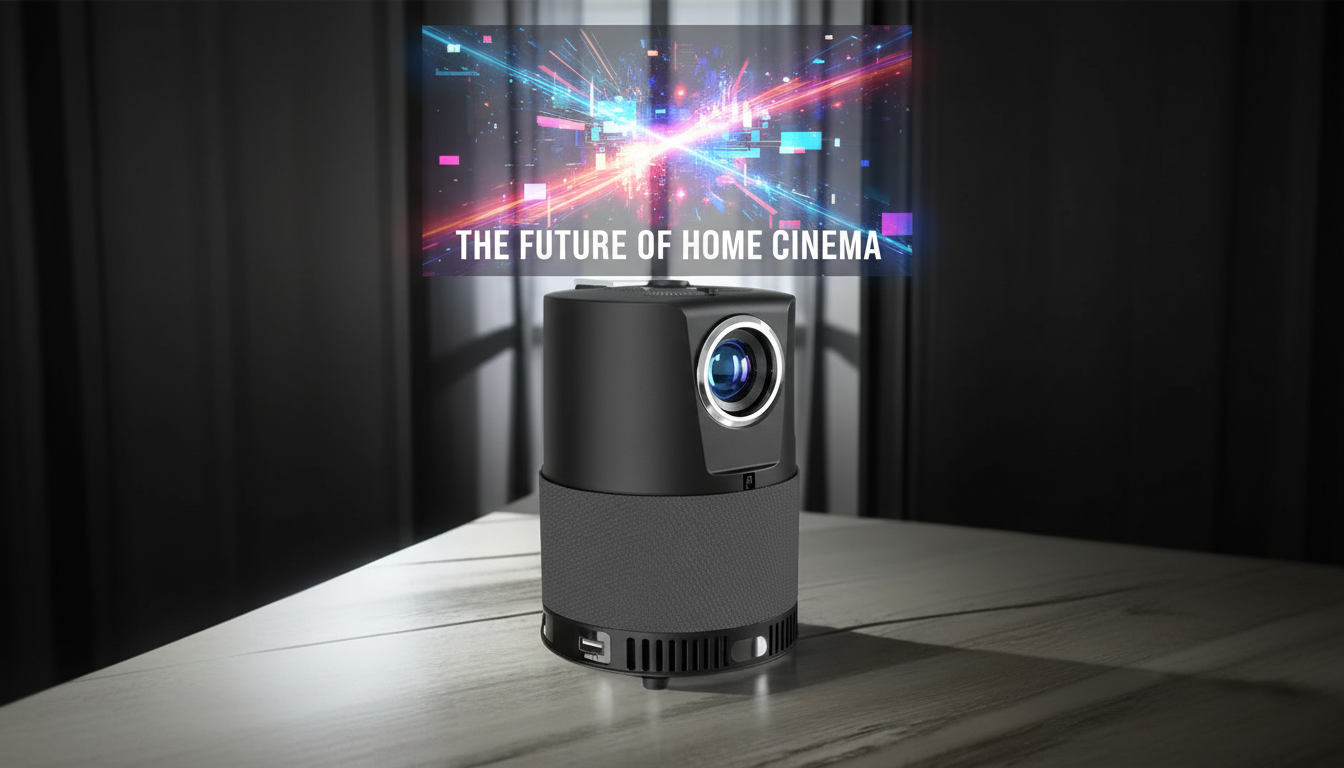
Mini Portable LED Projector for Home Theater: Big-Screen Nights Anywhere
A compact LED projector can turn a living room wall, bedroom ceiling, or backyard screen into a relaxing movie setup without the bulk of a traditional TV. The best part is how quickly it adapts: one night it’s a cozy ceiling show in bed, the next it’s a backyard feature with friends. What matters most for home-theater use is less about chasing perfect specs and more about getting placement, connections, picture tuning, and sound working together—especially in smaller spaces.
Why a mini LED projector works for home theater
Mini projectors shine when flexibility matters more than a permanent, wall-dominating display. Instead of designing the room around a TV stand, you can design the viewing around comfort and convenience.
- Flexible screen size: Adjust the image to fit a wall, portable screen, or a blank section of the room without committing to a fixed TV size.
- Easy to move: Switch between rooms (bedroom, living room, patio) and store it away when not in use.
- More relaxed layout options: Place seating where it’s comfortable instead of where a TV must go.
- Perfect for casual viewing: Great for movie nights, streaming, kids’ cartoons, and travel setups where a large display isn’t available.
The essentials that shape picture quality
Projector image quality is a system: the room, the surface, and the setup technique all influence how “big-screen” it feels.
- Brightness and room lighting: Darker rooms deliver the most satisfying contrast. Simple light control—closing curtains, turning off overheads, dimming lamps—often makes a bigger difference than minor spec gaps.
- Native resolution vs. supported resolution: “Supported” can mean it plays a signal, not that it shows full detail. Native resolution impacts subtitle crispness, menu readability, and text-heavy content.
- Throw distance and placement: Confirm the distance you have from lens to wall/screen, and plan a centered, level projection. If you’re unsure, a throw distance calculator can help estimate screen size for your space (see ProjectorCentral’s Throw Distance Calculator).
- Focus and keystone correction: Keystone is convenient for squaring the image, but physical alignment usually preserves the sharpest edges. Use keystone for small fixes after you’ve leveled the projector.
- Color and contrast tuning: A quick check of picture mode, color temperature, and gamma can reduce eye strain and help shadow detail look more natural.
- Fan noise expectations: In quiet rooms, fan noise becomes more noticeable. If possible, place the projector slightly farther from seating and closer to the screen.
Mini Portable LED Projector for Home Theater: what it’s designed to do
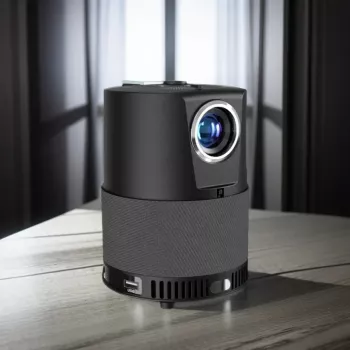
The Mini Portable LED Projector for Home Theater is built for creating a home-theater-style experience without a permanent installation. It’s an easy fit for temporary setups—movie nights, dorm rooms, apartments, or travel—where space and storage are limited.
For the most satisfying “big screen” feel, pair it with fuller audio (a soundbar or powered speaker) and use a stable surface like a tripod or table. A smooth, light-colored wall works, but a portable screen can make the picture look cleaner and more uniform—especially if your wall has texture or a darker paint color.
If your viewing area is a shared living space, a simple furniture layout can help: keeping the projector on a steady surface and the seating centered often matters more than fancy settings. A living-room piece like the Solid Wood Coffee Table with Storage Drawers can also double as a stable “projection station,” while keeping remotes and cables tucked away.
Quick setup for a clean, rectangular image
A clean rectangle starts with physical alignment. The less correction you need, the sharper the final image tends to look—especially near the edges.
- Center and level first: Start with the projector centered to the screen/wall and as level as possible before using any correction settings.
- Distance, then focus: Set throw distance first, then adjust focus; re-check focus after any keystone changes.
- Plan power early: If using streaming sticks or consoles, confirm the power plan (wall outlet, extension cord, surge protector) before final placement.
- Ceiling viewing: For ceiling projection (where supported), confirm the orientation setting so the image displays correctly.
Fast Home-Theater Setup Checklist
| Step | What to do | Why it matters |
|---|---|---|
| 1. Choose the surface | Use a smooth wall or a portable screen; avoid textured paint | Improves sharpness and reduces sparkling artifacts |
| 2. Control light | Dim lamps, close curtains, avoid direct light on the screen | Boosts perceived contrast and color depth |
| 3. Align physically | Center the lens to the screen and keep the projector level | Reduces reliance on keystone and preserves clarity |
| 4. Set distance & size | Move closer/farther until the image fits your viewing area | Prevents oversizing and keeps edges sharper |
| 5. Focus last | Fine-tune focus after any repositioning | Ensures subtitles and details remain crisp |
Connections and sources that feel seamless
When choosing cables and devices, HDMI is the most common standard for modern sources; for compatibility basics, see the HDMI Specifications Overview.
Sound that matches the screen size
For general placement fundamentals, Dolby’s guides are a helpful reference point (see Dolby Home Theater Speaker Setup Guides).
Care, portability, and long-term performance
FAQ
Does a mini LED projector work in a bright living room?
It can, but the picture usually improves dramatically with light control. Close curtains, dim nearby lamps, and consider a screen designed to handle ambient light if the room can’t be darkened.
Is keystone correction enough to fix a tilted projection?
Keystone can square the image, but physical alignment typically keeps edges sharper. Level and center the projector first, then use keystone for small adjustments.
What’s the simplest way to improve sound for movie nights?
Add an external speaker or soundbar and place it close to the screen area for clearer dialogue. If Bluetooth introduces noticeable lip-sync delay, switching to a wired connection is often the quickest fix.









Leave a comment