-
Shop
- Adidas
- Advanced Technologies
- AI Skills Mastery 2026 Collection
- Best-Sellers
- Calvin Klein
- Car Accessories
- Confidence
- Dating & Social Skills
- Digital Resources
- AI & Technology
- AI Skills
- Beauty
- Budgeting & Saving
- Car Buying & Ownership
- Cozy Feast Collection
- Electronics & Technology
- Entrepreneurship & Business Growth
- Financial Education
- Financial Independence
- Financial Mindset & Psychology
- Goal Setting
- Hobbies
- Home Styling & Organization
- Kitchen & Recipes
- Leadership
- Mindset
- Online Business
- Parenting & Child Development
- Personal Style & Fashion
- Pet Lifestyle & Wellness
- Positive Thinking
- Sleep Improvement
- Stress Management & Relaxation
- Travel Planning
- Yoga & Fitness
- Yoga & Mind-Body Practices
- Education & Learning
- Family & Parenting
- Fashion
- Alexander McQueen
- Bags
- Bags & Wallets
- Balenciaga
- Belts
- Blazers
- Bottega Veneta
- Brunello Cucinelli
- Burberry
- Chanel
- Chloé
- Dior
- Dolce & Gabbana
- Dresses
- Etro
- Fendi
- Gucci
- Hats & Hair Accessories
- Hoodies & Sweatshirts
- Jacquemus
- Jewelry
- Jil Sander
- Keychains
- Kiton
- Luggage
- Miu Miu
- Off-White
- Prada
- Rick Owens
- Saint Laurent
- Socks & Tights
- Sweaters & Cardigans
- The Row
- Tom Ford
- Tops & Shirts
- Valentino
- Valentino Garavani
- Versace
- Vivienne Westwood
- Watches
- Furniture
- Gadgets
- Health & Beauty
- Health & Wellness
- Home & Garden
- Kids & Babies
- Kitchen
- Lighting
- Patio, Lawn & Garden
- Personal Growth
- Pet Care
- Pet Supplies
- Pets
- Shoes
- Smart Home Living Guides
- Sport & Outdoors
- Stress Relief & Relaxation
- TikTok Growth & Monetization Mastery
- Travel
- Travel & Adventure
- Wealth
- Wellness
- YouTube Shorts Best-Sellers
- Popular
- Best deals
USB Condenser Mic + Tripod Stand: Setup, Placement & Tips
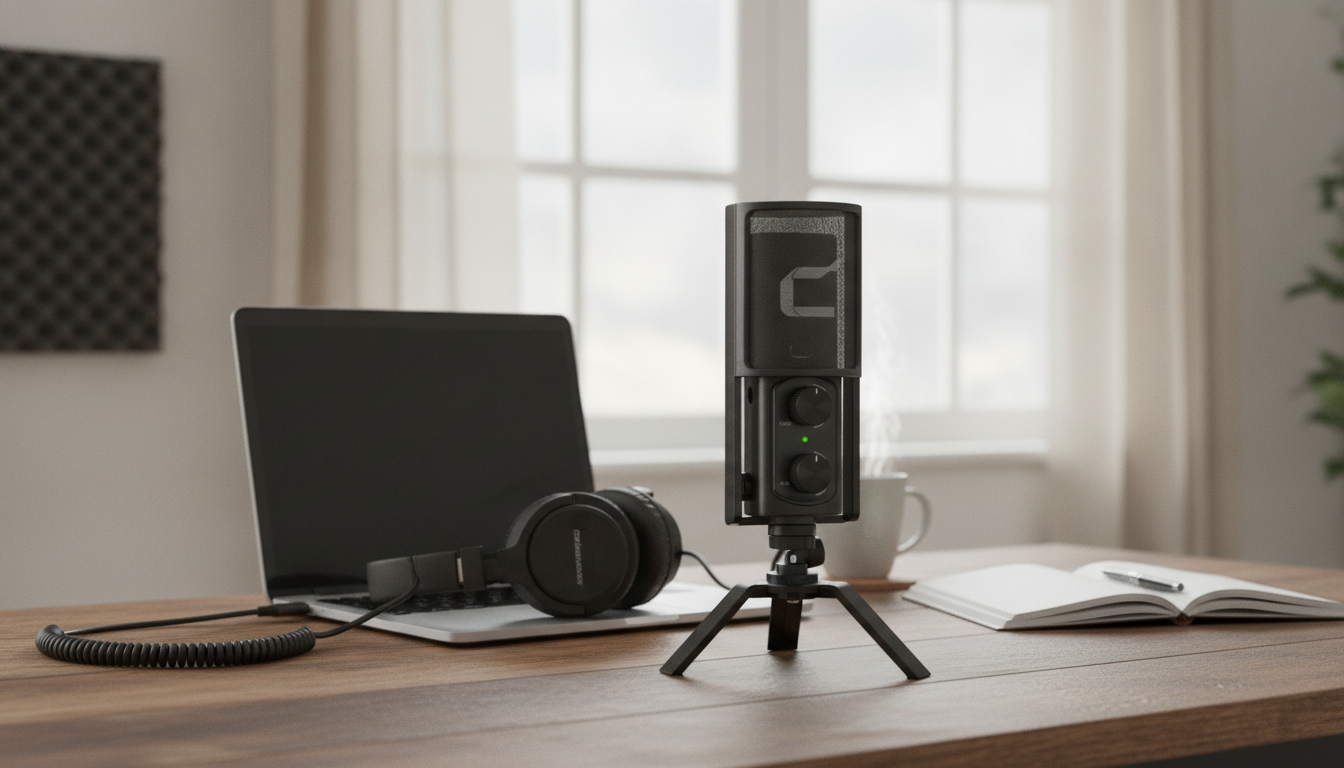
USB Condenser Microphone with Tripod Stand for Clear, Confident Audio
A USB condenser microphone with a tripod stand is one of the easiest ways to level up your voice for video calls, streaming, podcasts, and voiceovers—without needing an audio interface. USB makes setup fast on most computers, while the tripod helps keep the mic in the same spot every time, which is often the difference between “okay” audio and clean, consistent sound.
What This Microphone Setup Is Best For
- Video calls and remote work: clearer speech and more consistent volume than a built-in laptop mic.
- Streaming and gaming chat: improved intelligibility; easier to keep levels steady with a fixed stand position.
- Podcasting and voiceovers: condenser sensitivity captures detail for spoken word when used in a controlled space.
- Online teaching and content creation: stable placement reduces handling noise and keeps tone consistent.
What Comes in a USB Condenser Microphone with Tripod Stand Kit
Most kits are designed to be plug-and-play and include the essentials to start recording right away. Typical items include:
- USB condenser microphone body (often side-address—speak into the front, usually marked by the logo or grille design).
- Tripod desktop stand for hands-free use and repeatable mic placement.
- USB cable for direct connection to a computer (and sometimes compatible mobile setups via adapters).
- Mounting hardware such as a clip, threaded adapter, or shock mount depending on the kit.
Quick Setup and Placement That Makes a Big Difference
Before changing any software settings, get the physical setup right. Condenser mics respond strongly to distance, angle, and room reflections, so a few small adjustments can dramatically improve clarity.
- Start at 6–10 inches from your mouth; move closer for more fullness, farther for less room pickup.
- Angle the mic slightly off-axis (about 20–45 degrees) to reduce plosives and sharp “s” sounds.
- Stabilize the tripod on a firm surface; avoid bumping the desk to reduce vibrations in the recording.
- Wear headphones so speaker audio doesn’t bleed back into the microphone.
- Treat the space before chasing settings: curtains, a rug, or a folded blanket behind the mic can reduce echo quickly.
Fast placement guide (starting points)
| Use case | Distance | Angle | Extra tip |
|---|---|---|---|
| Video calls | 8–12 in (20–30 cm) | Slightly off-axis | Lower input gain to avoid clipping |
| Podcast/voiceover | 6–8 in (15–20 cm) | Off-axis 20–45° | Add a pop filter if available |
| Streaming | 6–10 in (15–25 cm) | Off-axis | Keep keyboard farther from the mic |
How USB Condenser Mics Differ from Other Options
- USB vs XLR microphones: USB connects directly to a computer; XLR usually needs an audio interface but can offer more upgrade flexibility over time.
- Condenser vs dynamic microphones: condensers tend to capture more detail (and more of the room), while dynamics often reject background noise better but may require more gain.
- Tripod stand vs boom arm: a tripod is compact and portable; a boom arm can reduce desk vibrations and position the mic closer without blocking your screen.
For additional placement fundamentals, Shure’s general guidance on microphone technique is a practical reference for angle and distance choices: Shure: Microphone Techniques.
Tips for Cleaner Audio in Real Rooms
A condenser mic can sound impressively detailed, but real rooms come with fans, hard walls, and keyboard noise. These small habits help keep recordings tighter and more professional:
- Control plosives: speak slightly across the mic rather than directly into it; use a pop filter if you have one.
- Reduce background noise: turn off unnecessary fans, close windows, and keep the mic away from PC exhaust paths.
- Tame echo: record closer to the mic and add soft furnishings nearby; bare rooms often sound “boxy.”
- Set levels once: aim for a strong signal without peaking; if 100% input adds hiss, back it down and move slightly closer instead.
- Run a quick test: a 10-second check before meetings or sessions confirms the right device is selected and the level is stable.
If you need help selecting the correct input device or fixing system-level audio issues, these official guides can help: Microsoft Support: Fix sound or audio problems in Windows and Apple Support: Change the sound input settings on Mac.
Product Snapshot
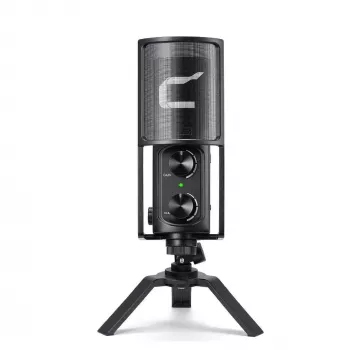
If you want a straightforward desktop kit that prioritizes quick setup and consistent placement, the USB Condenser Microphone with Tripod Stand is designed for plug-and-play use and stable positioning.
- Product: USB Condenser Microphone with Tripod Stand
- Price: $109.32
- Availability: In stock
Helpful Add-Ons for a Cleaner Recording Space
Audio improves when your setup is comfortable, repeatable, and distraction-free. These in-stock picks can support a more polished desk or on-camera environment:
- Carry and protect small gear: the Elegant Casual Leather Tote Bag for Everyday Style can make it easier to transport accessories like cables, adapters, and a compact mic kit.
- Enhance on-camera appearance: the Heart Shaped Crystal Ceiling Light can help brighten a room for streaming or online teaching when overhead lighting needs an upgrade.
Care, Handling, and Long-Term Use
FAQ
Does a USB condenser microphone work without extra equipment?
Yes. On most computers it’s plug-and-play: connect via USB, select it as your input device, and set a comfortable level. Headphones and a pop filter are optional, but they can help reduce echo, bleed, and plosives.
Why does my voice sound echoey or too “roomy” on a condenser mic?
Condenser microphones capture more room reflections, especially when you’re far from the mic or the gain is too high. Move closer, lower the input level, add soft materials like curtains or a blanket nearby, and aim slightly off-axis to reduce harsh reflections.
How far should the microphone be from my mouth on the tripod stand?
A practical starting point is about 6–10 inches away. Move a little closer for a fuller, more intimate sound, or a little farther if plosives are a problem or your room is very quiet and controlled.
Recommended for you
5-Minute Nightly Tidy-Up: A Simple Reset That Sticks
Jul 31, 2026












Leave a comment